One of the leaf springs of a 5″ locomotive had suffered with water ingress and it was noticeable that this had affected the performance of the said spring under load.

Spring Under Load Test – note the bowing
It was estimated it needed to handle a load of 14 lbs and when this was progressively applied the spring first flattened and then bowed. When the spring was dismantled the individual leaves were found to be badly corroded. It was decided to make a new one.
The theory of making a leaf spring is pretty straight forward. Obtain suitable steel strip in the annealed (soft) state which makes any cutting and drilling straight forward, harden the leaves by heating to cherry red, quench, clean then temper the hardness by reheating to a blue / grey colour and quench.
Reading up various model engineer publications and internet forums I decided to give the production a go and to describe the methodology I came up with.
Before I describe the process though, there is one point that does not seem to be covered in the descriptions and so I pass it on first as I discovered it after I had made a couple of leaves, which initially was a little disconcerting. On flexing the fully tempered leaves to my amazement two of them bent! Initially I thought that perhaps the colour I had tempered to was wrong. I cleaned up the leaves and re-tempered them, this time checking the colour was a nice blue / grey all over. Nope, still bent. Now I was a little stumped, but I decided to clean them up again and this time re-harden them to cherry and then temper. Applying the heat I made sure that the whole leaf was cherry red and that when it was quenched it was totally immersed at cherry red. In other words there had been no localised cooling before quenching. This did the trick.
The learning points of this were:
- Make sure the leaf is cherry red all over when it is quenched in oil
- Check the leaf after quenching and before tempering by flexing it
- If it bends, re-harden
- Make sure that you have sufficient depth of quenching oil to cover the leaf – this is a consideration if tempering a number of leaves. As the ‘pile’ grows bigger in the oil the leaves may start to sit out of the oil at one end for example.
The equipment I used was as follows:
Go System DIY blow torch for heating the spring leaves during hardening and for any additional heat you may require during the process.
Ground Nut Oil for quenching. A high temperature cooking oil that does not smoke or burst into flames when the hot parts are dropped in. Added bonus of a smell of deep frying!
Three 7″ ∅ steel cake tins. Two used for sand tray & cover (invert one on top of the other) and one for holding the quenching oil.
Aladdin Paraffin Stove. Surprisingly (to me!) this at full bore raised the temperature of the sand tray to 350°C which was ideal for getting the correct tempering colour. Added bonus of providing good heat in the workshop on a freezing cold day too!
Tala Oven Thermometer for accurately getting the correct temperature in the sand tray rather than relying on your judge of colour.
Thick leather gardening gloves for handling the hot trays etc.
Safety glasses or goggles to protect your eyes just in case of spits from the oil.
Pliers or tongs for handling the hot metal spring leaves
In photographs, the sequence of events was:

Kieran Cuts The Leaves From The Annealed Coil
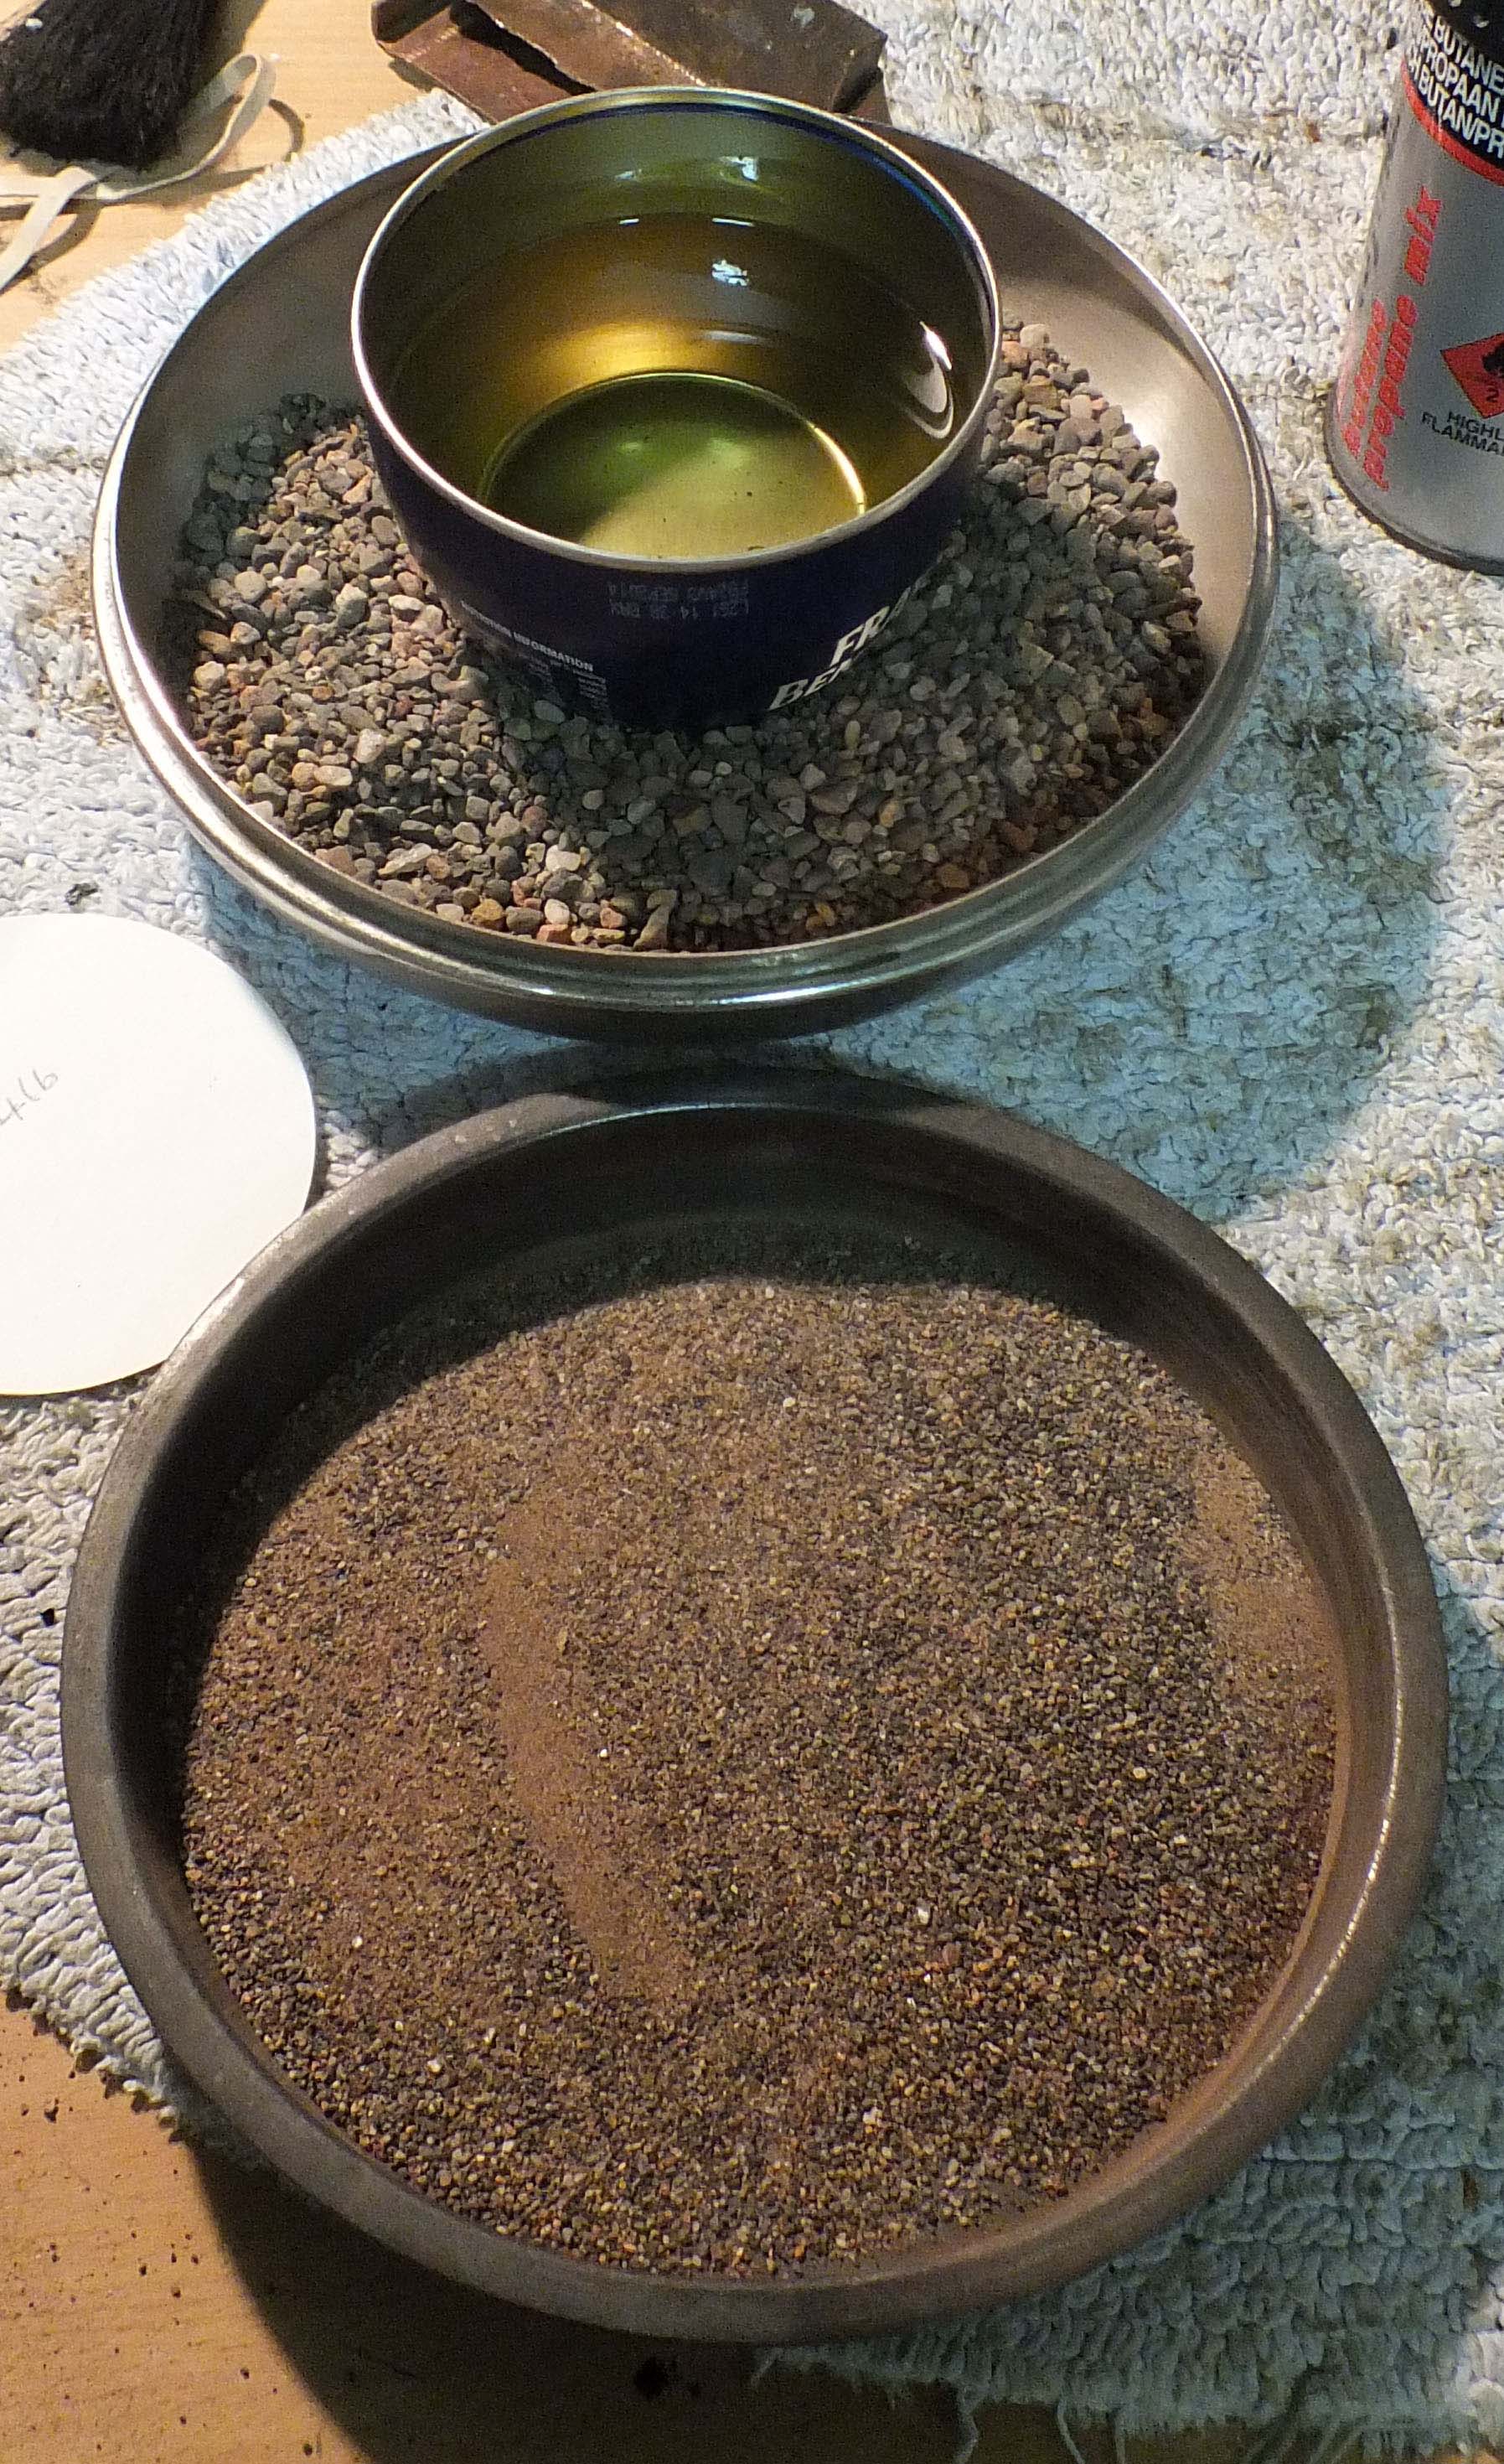
Sand Tray, Quenching Oil & Stone Tray To Catch Spills
The individual leaves were then heated to cherry red and quenched in the oil.
The original oil container was too small and as the leaves accumulated the latter ones were not fully submerged. The container was changed to a 7″ ∅ cake tin.
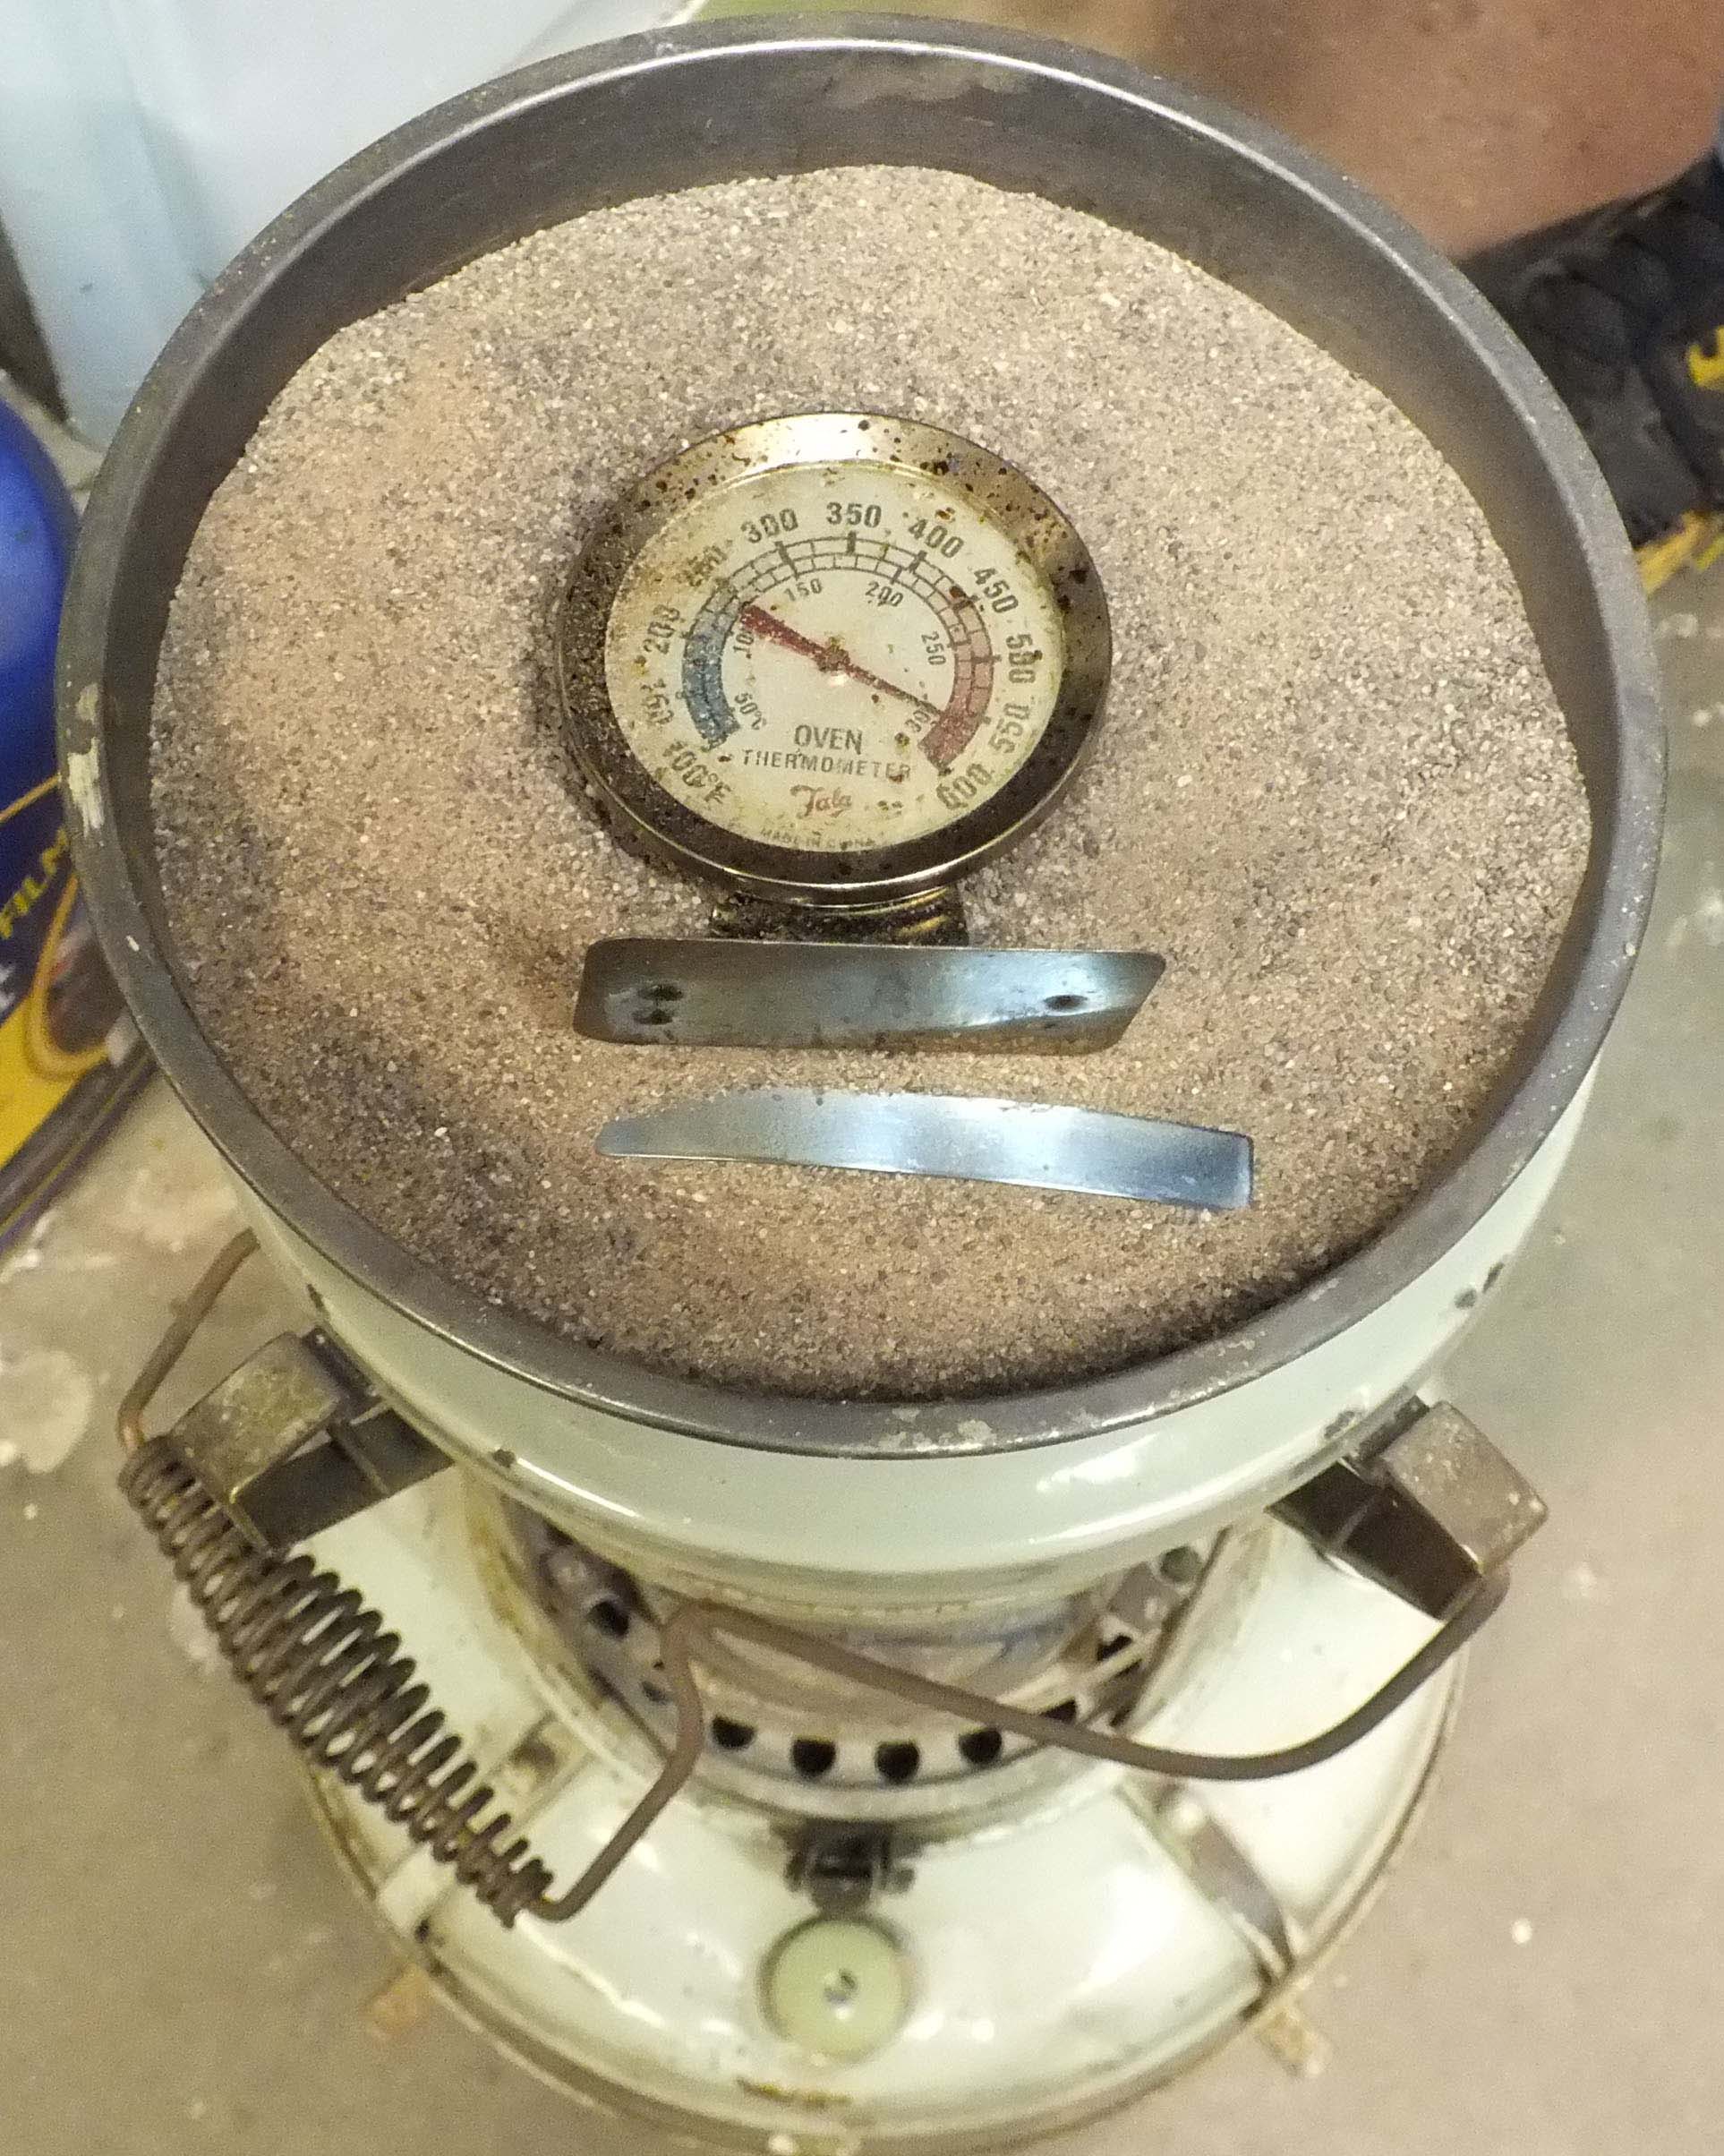
Sand Tray Showing Temperature Gauge & Leaves
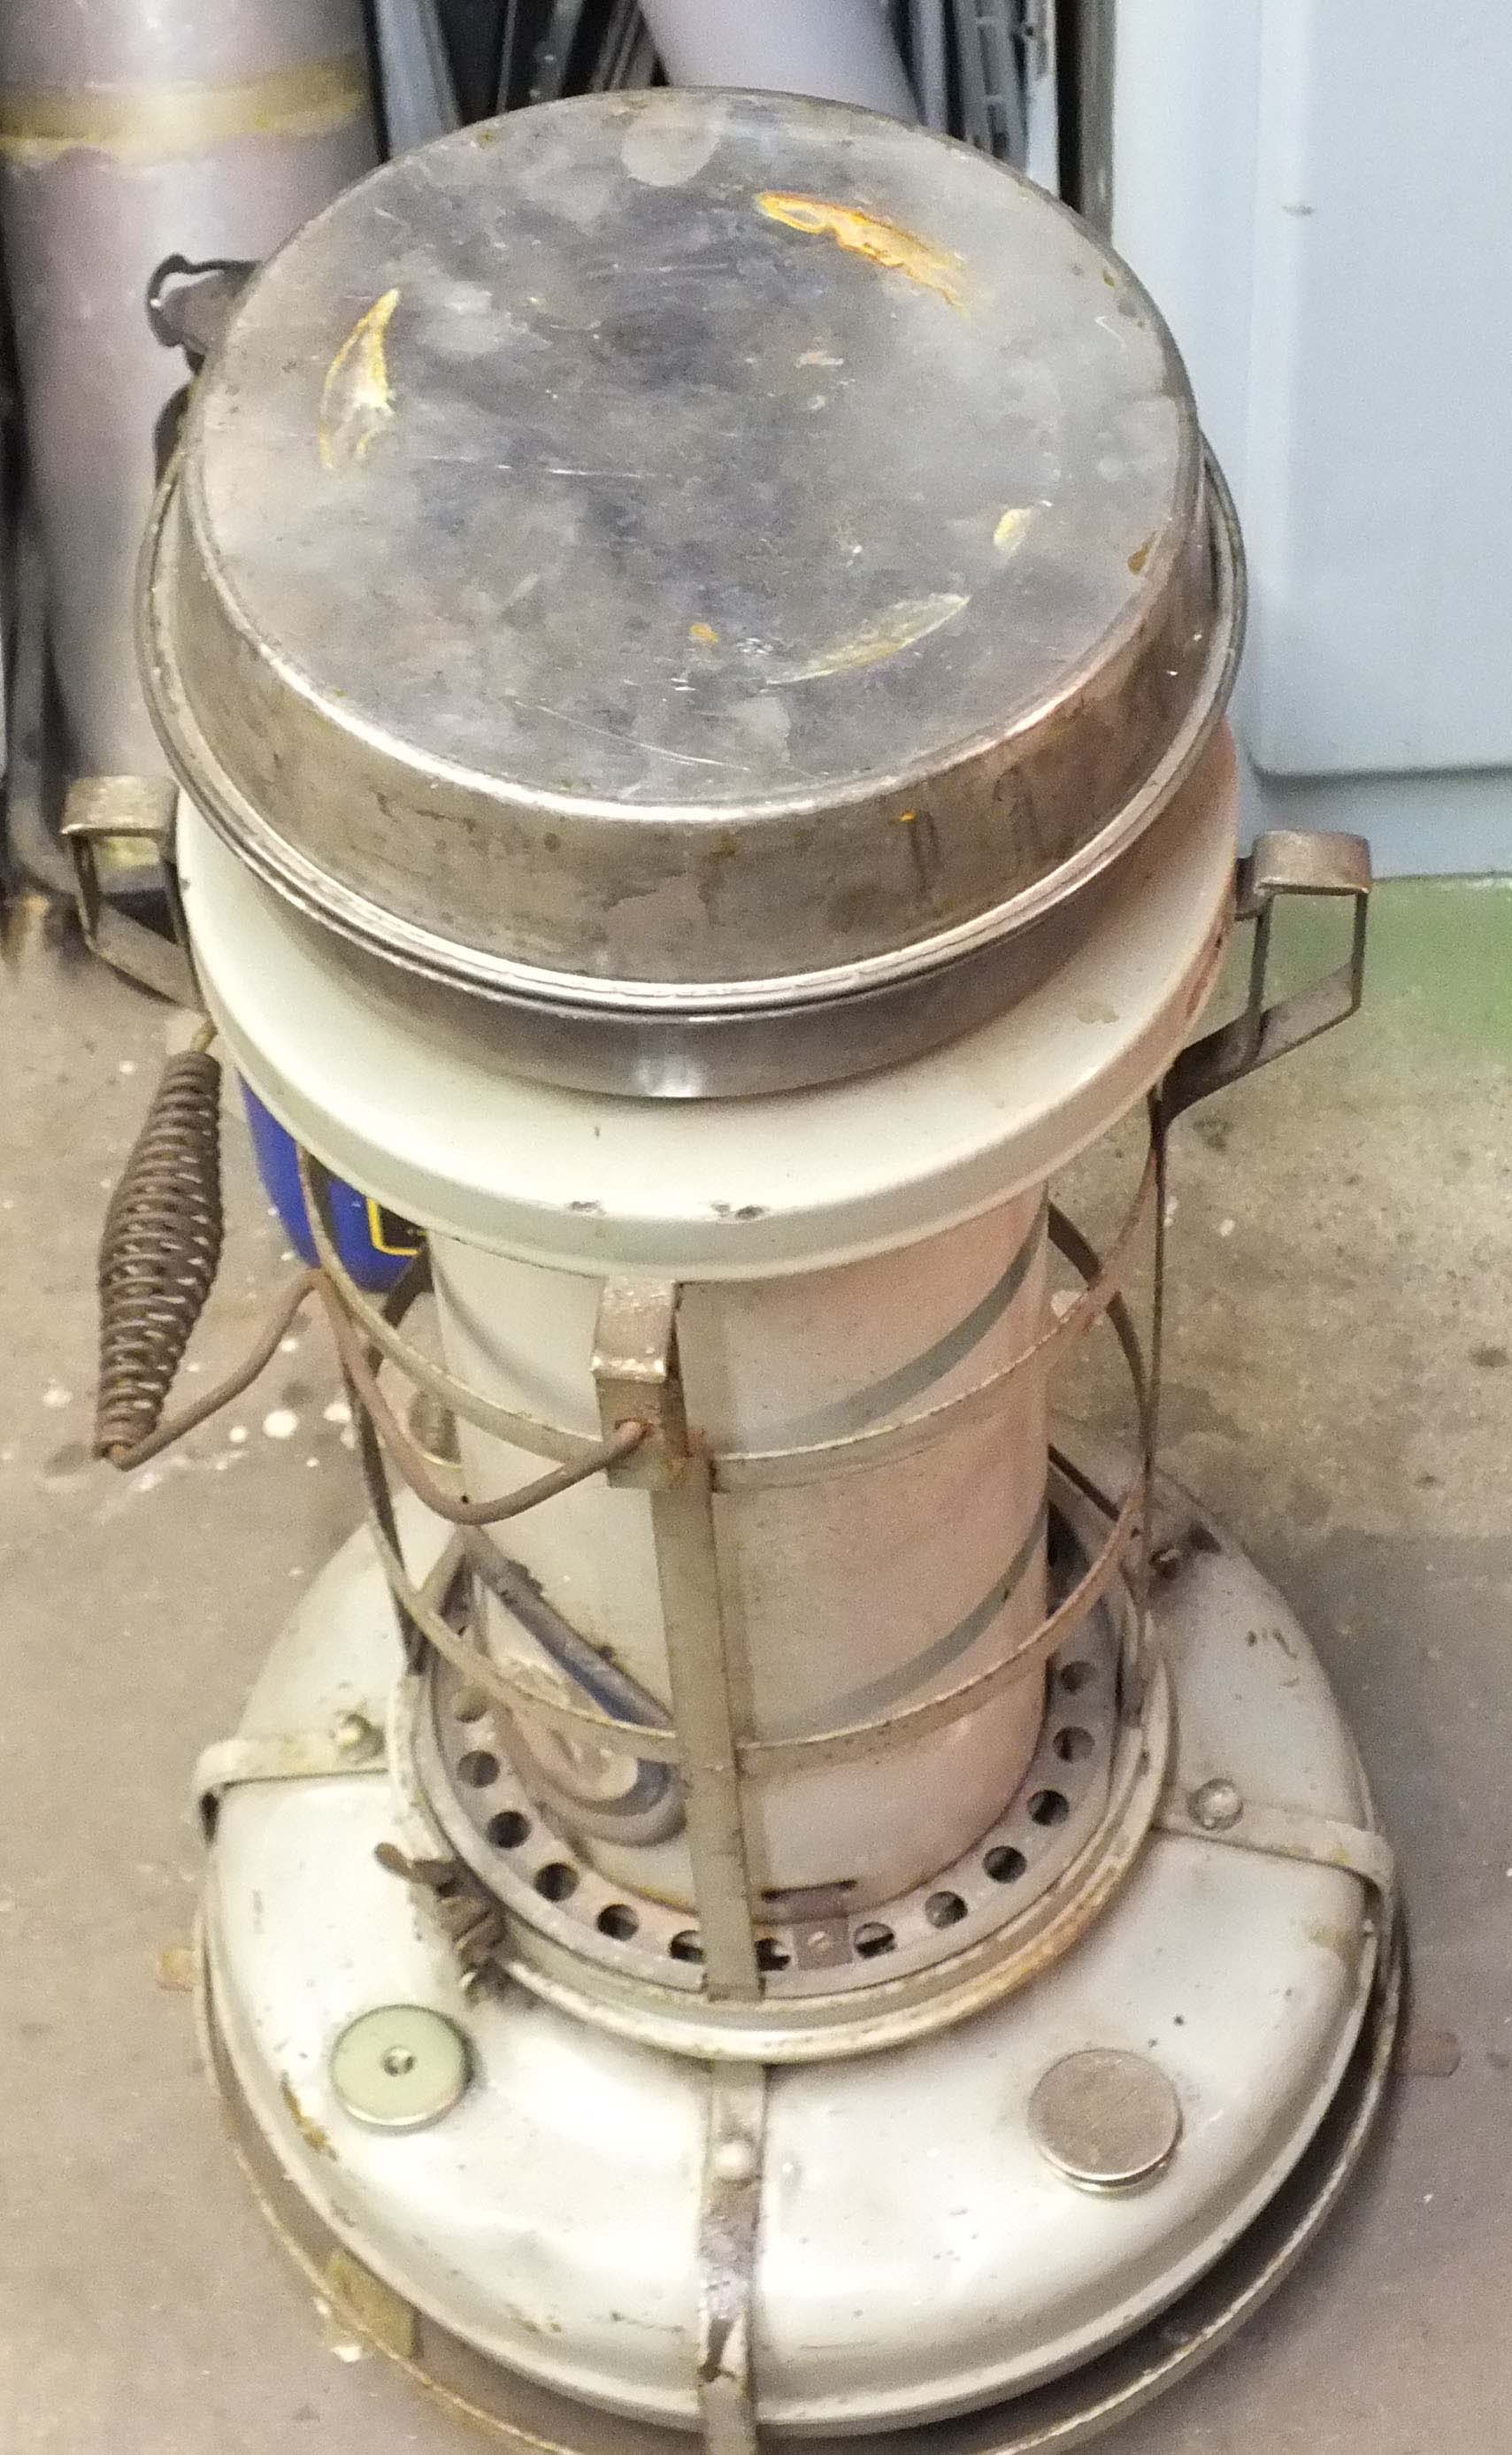
Sand Tray & Lid, Sitting On Aladdin Blue Flame Stove
As can be seen the temperature is nearly at the required 350° C. The lid helped the temperature to rise more quickly. All leaves were covered in sand to even out the heating. The process took about 40 minutes and would handle 9 leaves at a time.

Quenched In the Oil Bath.

Finished Spring Leaves
The original oil bath tin was from a Fray Bentos Steak & Kidney Pudding, but although it looked deep by the time 9 leaves were in it was too small.
Colours on the right don’t show well due to the artificial light in the workshop, but you get the idea.
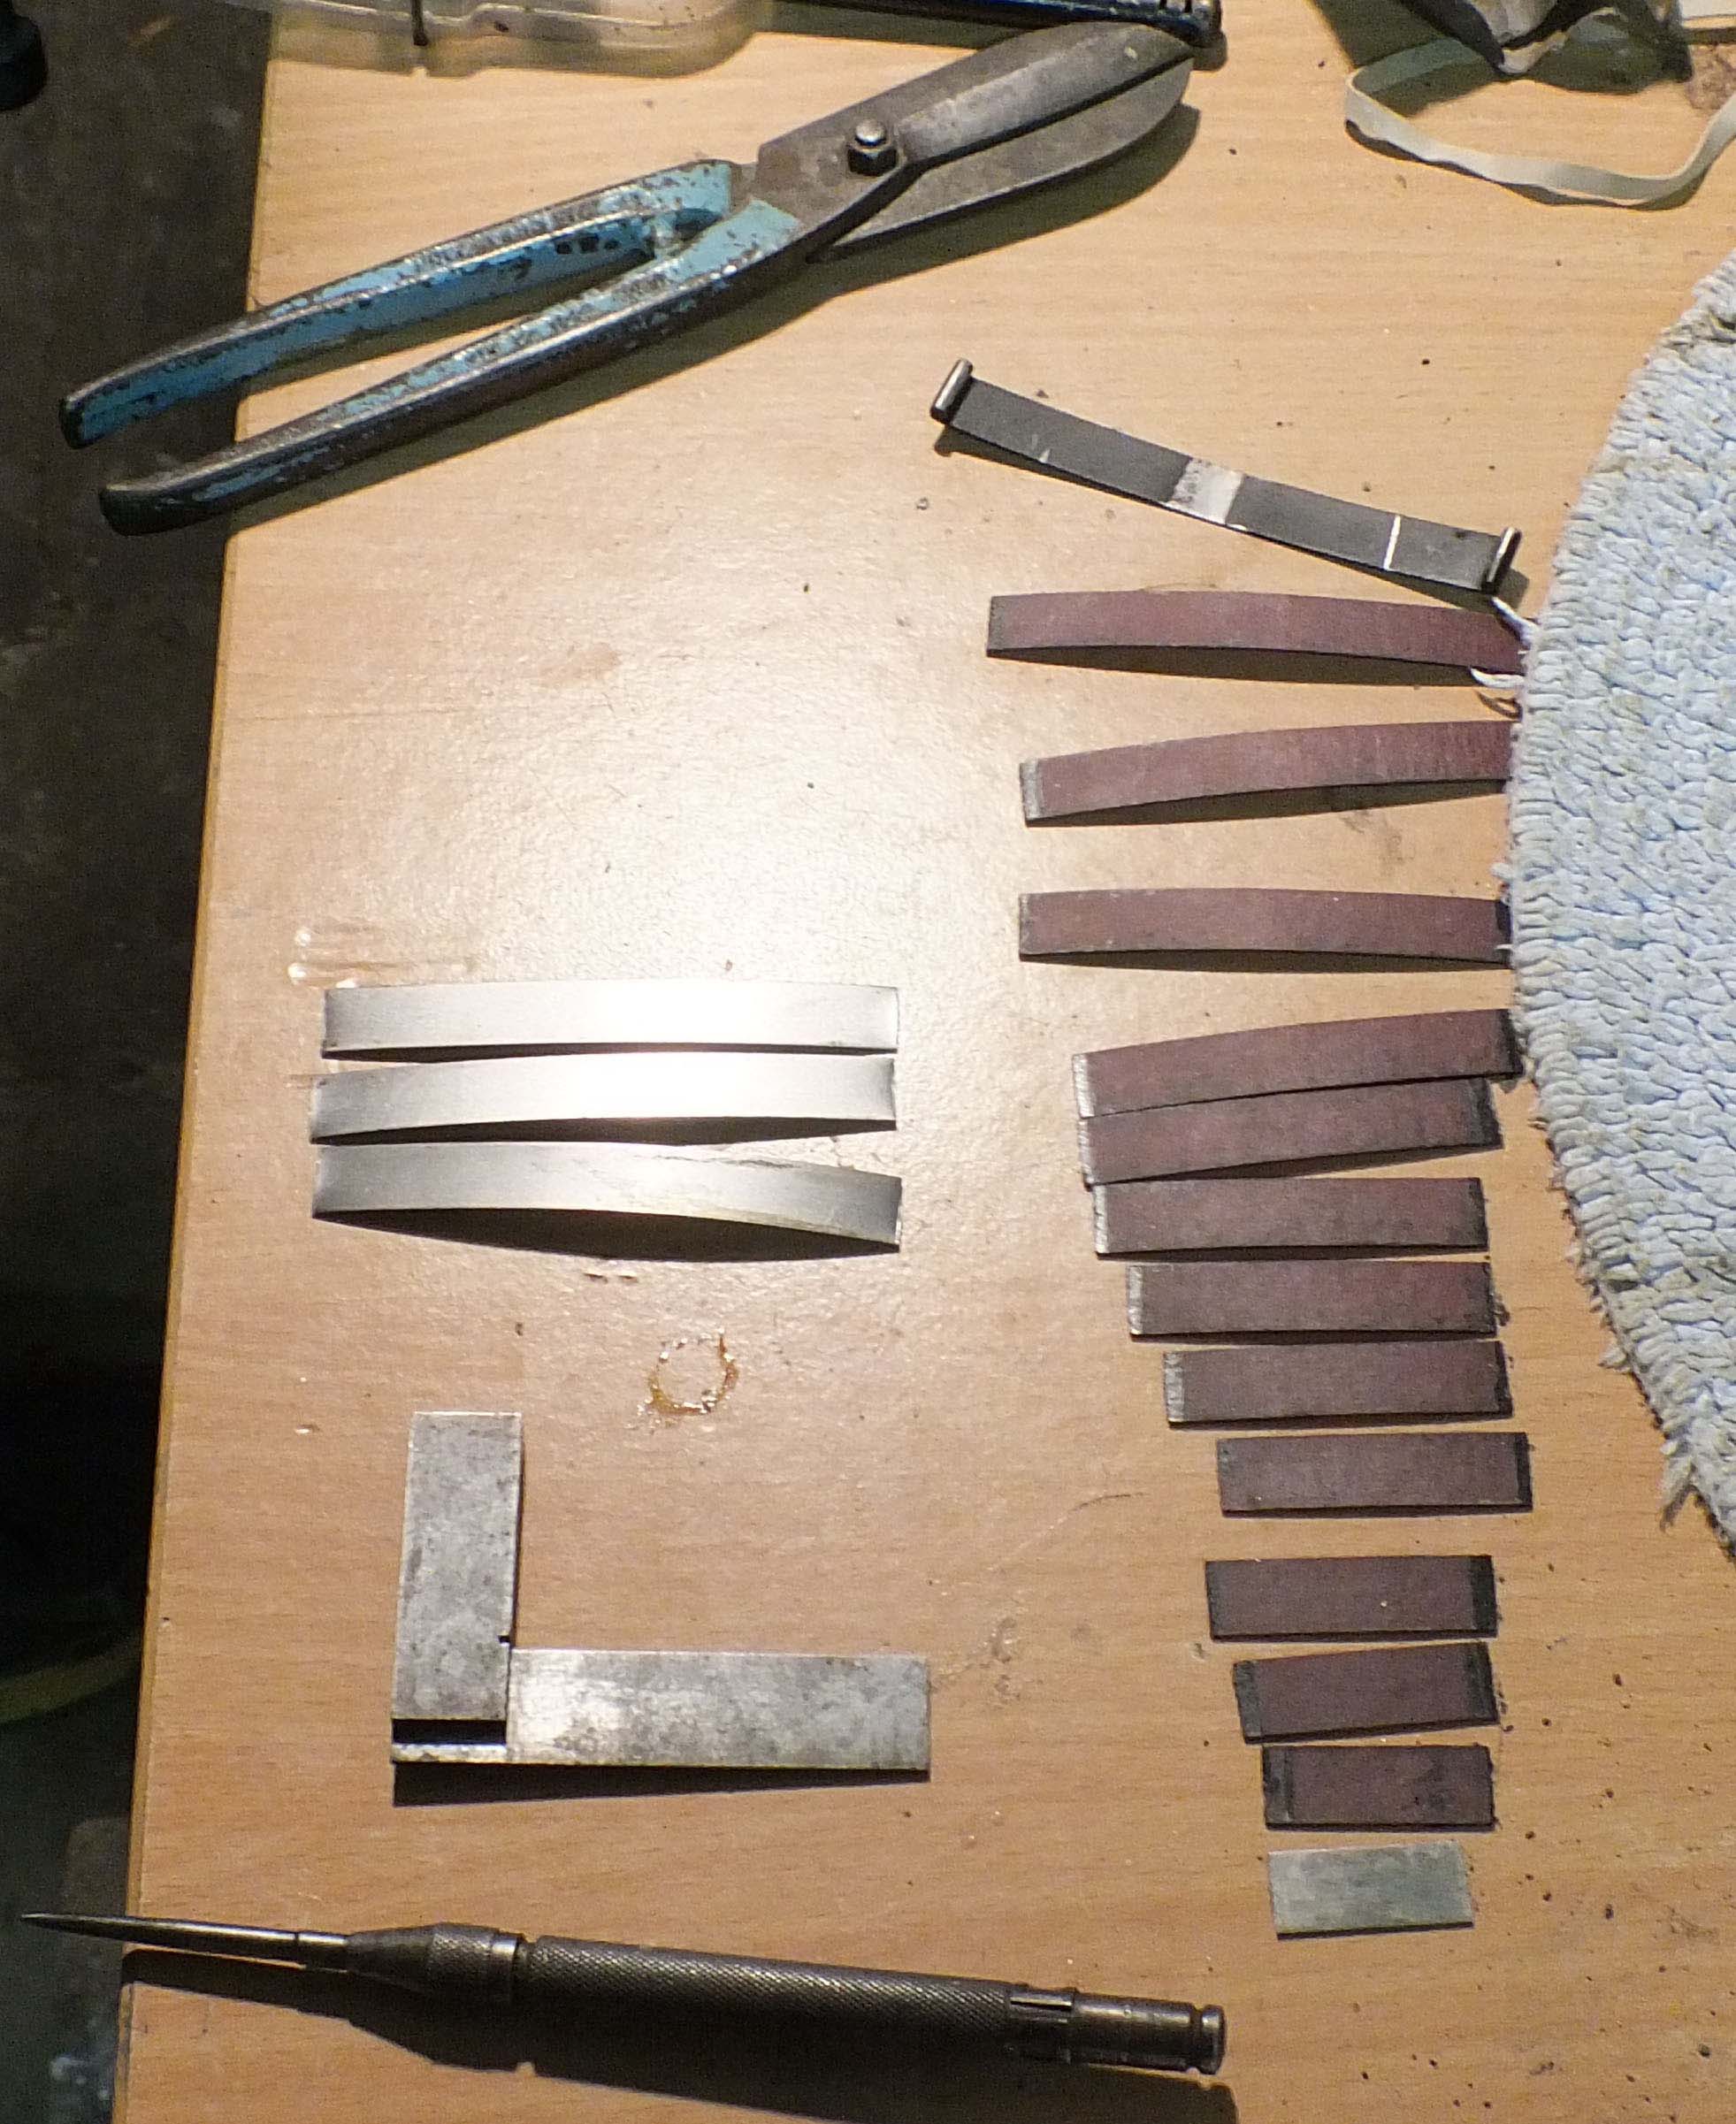
All The Components For The Spring
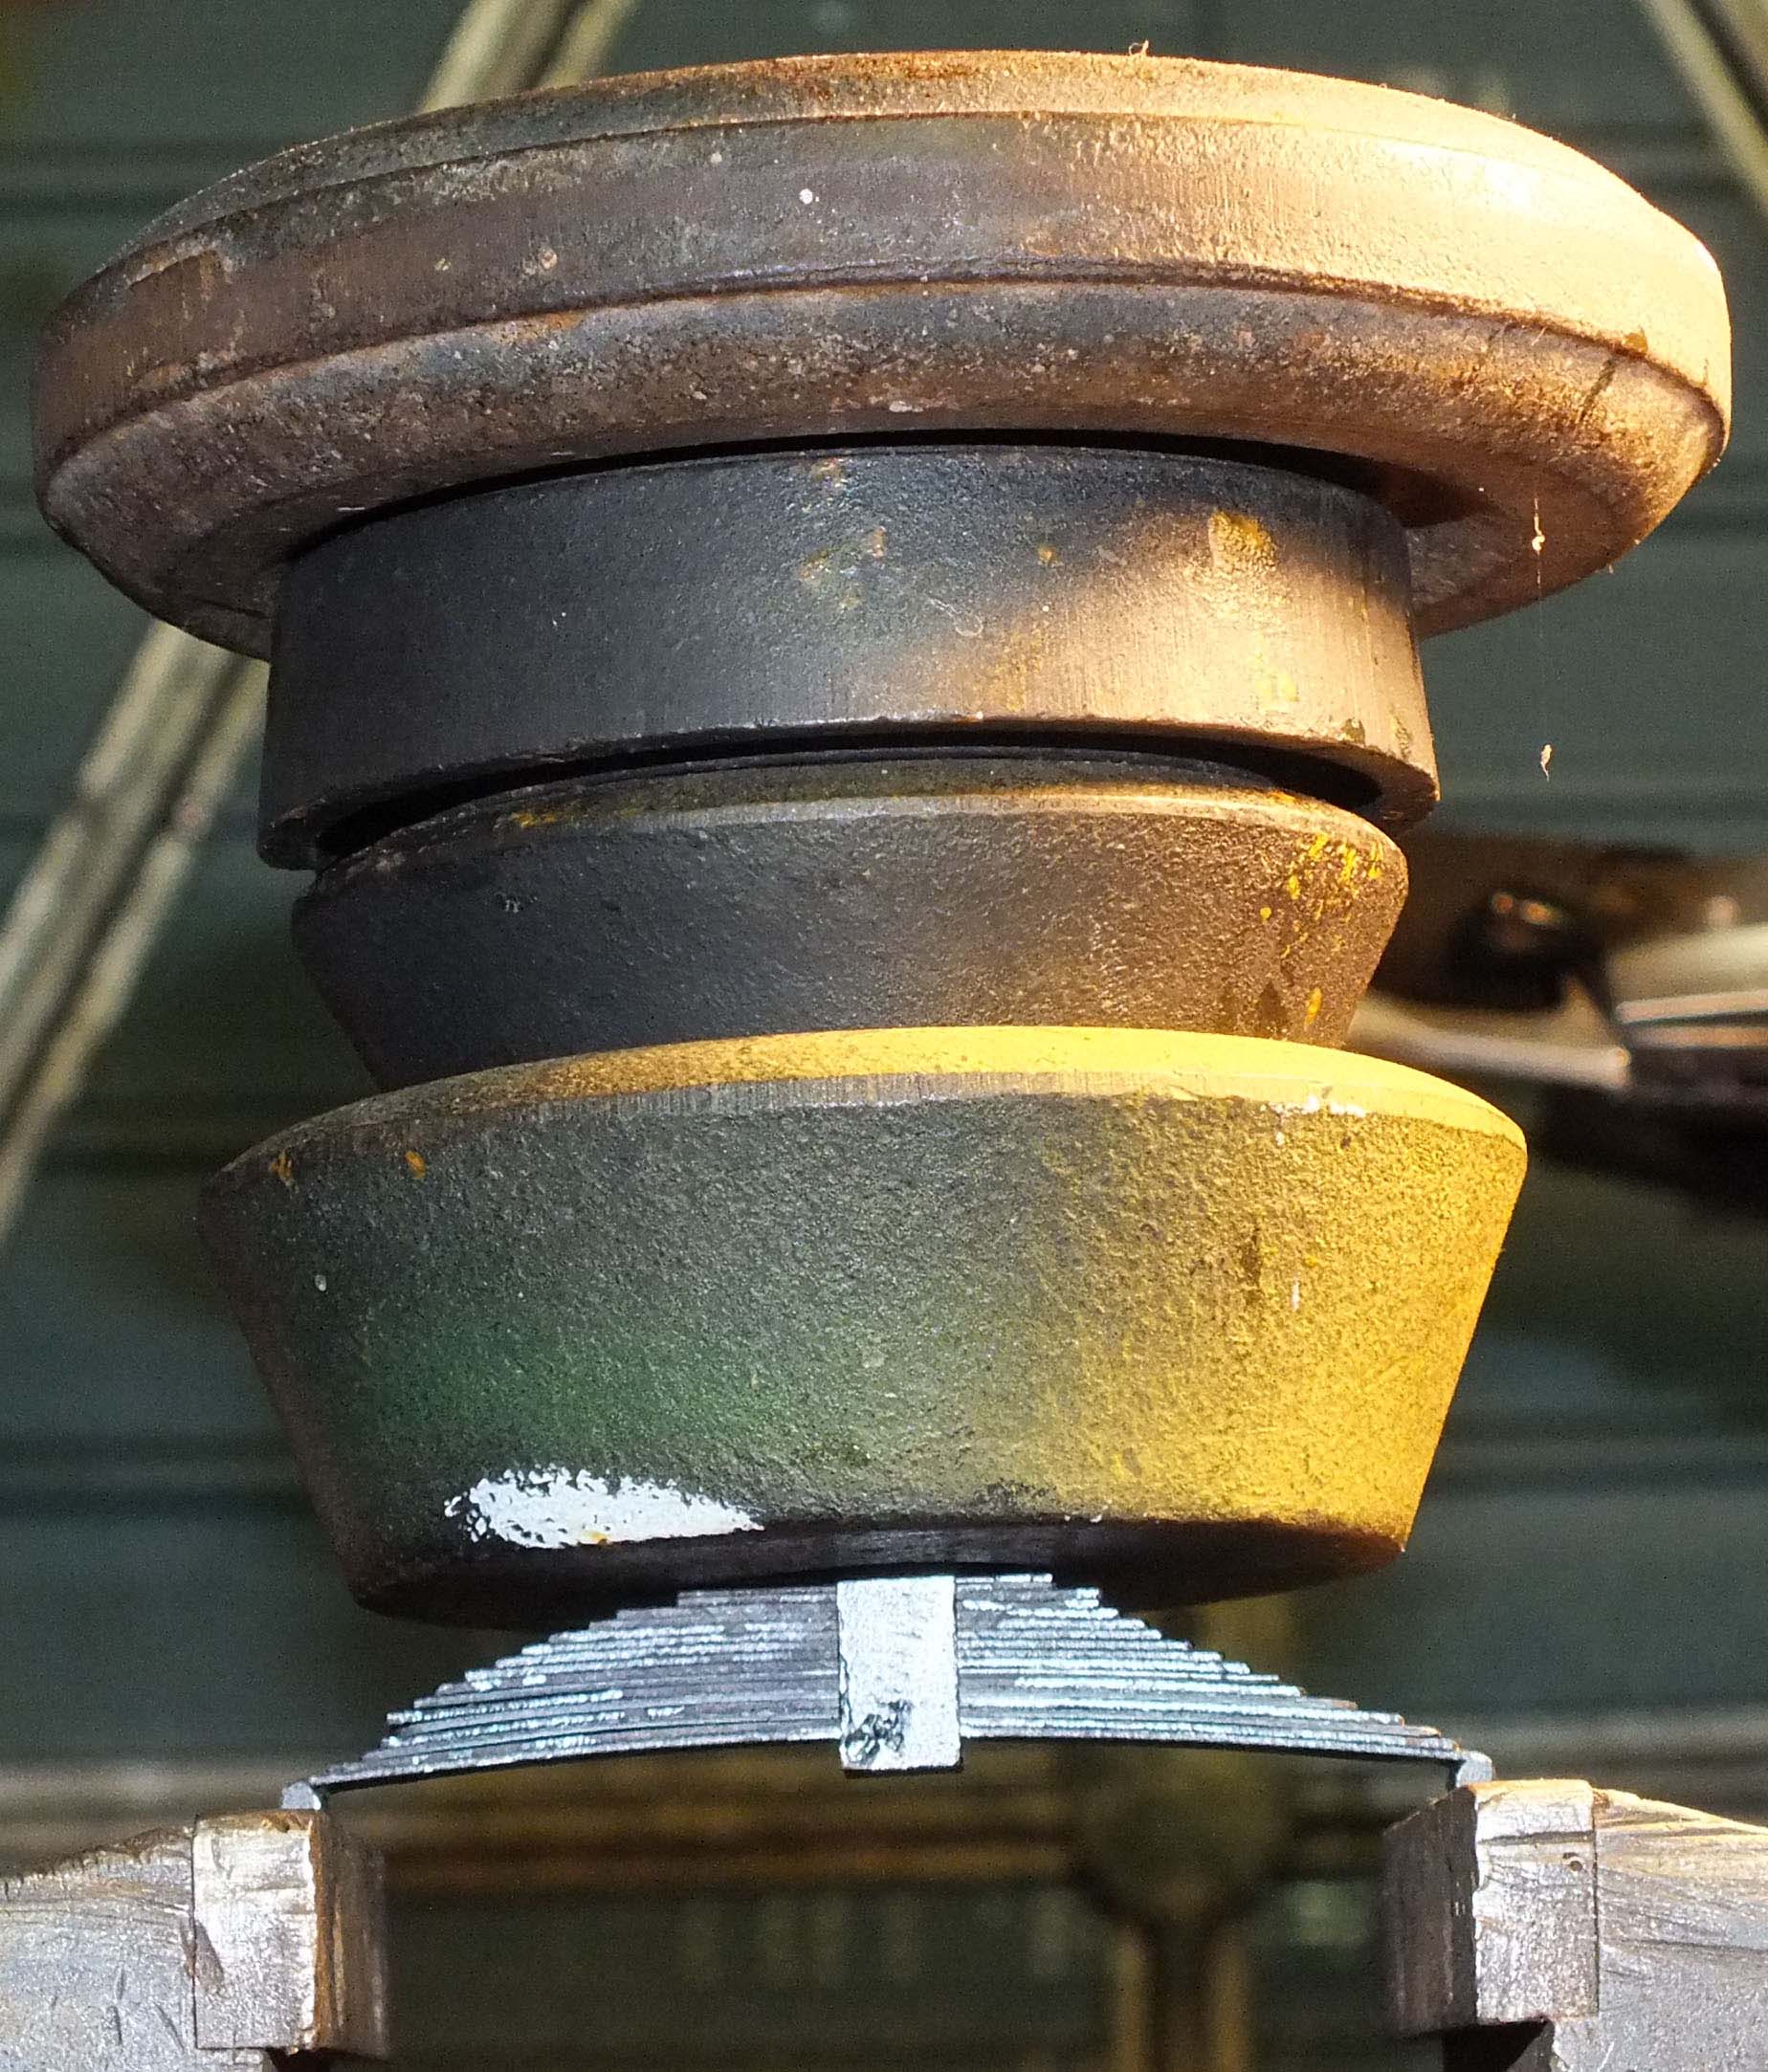
Finished Spring Under Test
On the left can be seen the steel leaves on the left and the ‘Tufnol’ leaves on the right.
Five steel leaves & twelve ‘Tufnol’ leaves gave the correct torsion as can be seen on the right when the 14 lb load was applied.
In conclusion the production of a working leaf spring was not as difficult as I was first led to believe. Provided you can work out how much weight it is to carry, then by testing with an appropriate load you can work out how many steel leaves you will require. Which seems to me to be better than ‘They are very hit or miss, you will find once you are up at the track you may need to add more leaves’ as one designer wrote……..